


With the Windows 10 File History feature, you can back up copies of files and folders to secure locations in the case they are deleted by accident.
By default, the File History feature will back up the files that are in the Documents, Music, Pictures, Videos, Desktop folders, but you can manually add custom folders as well.
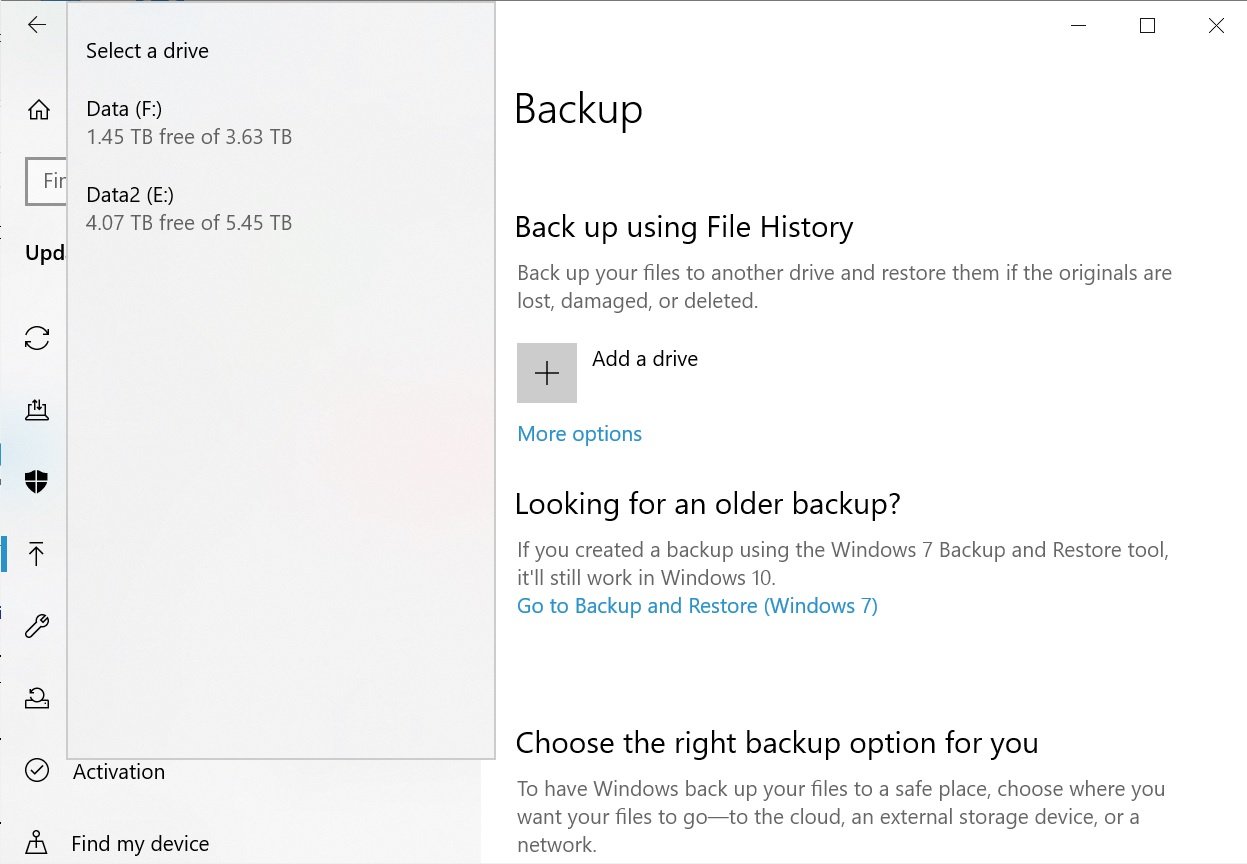
You can configure File History feature with both fixed or primary disk and external drive. Microsoft recommends you select an externally connected drive such as a USB drive to save your backups for additional security.
Microsoft says there are other choices as well, including the option to save your data to a drive on a network.
To get started with File History in the latest version of Windows 10, use these steps:
Once selected, File History will begin archiving your data. If you want to turn it off, use the on/off toggle which should appear under “Automatically back up my files” in the same page.
Below “Automatically back up my files”, click on “More options” and you can now configure the Backup options. You can use the drop-down menus to change the frequency of the backups.

By default, Windows 10’s File History is configured to save the default data folders under the user’s %UserProfile% folder at C:\users\[user]. Windows allows you to add folders of your own choice and start saving the content included in the folders.
If you want to add a custom folder, even one from a different drive than C: you can add it using these steps:
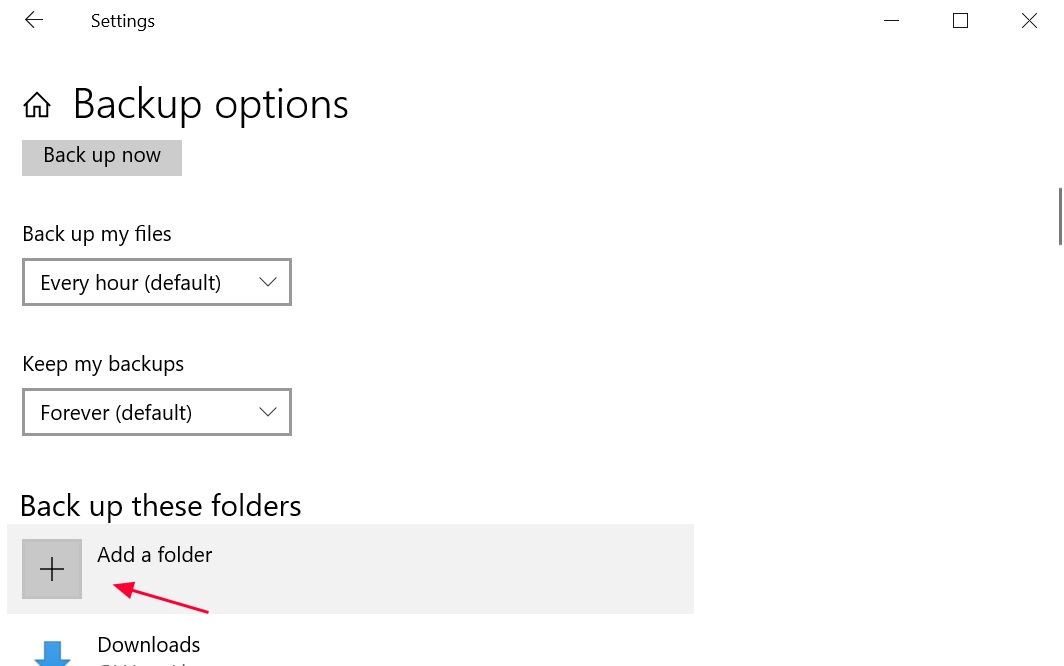
For example, if our test we added the E:\outlook folder to be backed up using File History. As shown in the screenshot below, once the folder is selected, it will now be added to the list of folders that are backed up.

If you want to use an external drive, connect it to your PC and select the option to configure the drive for File History from the notifications toast. Or go back to the Settings and choose the new drive instead.
Also read: 9 Policies For Security Procedures Examples
When backing up files with File History, Windows 10 will store different versions of the files as they arebacked up.
In the even that a file is lost, damaged, or deleted, this allows you to restore the file you need from a specific backup date.
To restore a file with File History, you should follow these steps:
 History button in File Explorer
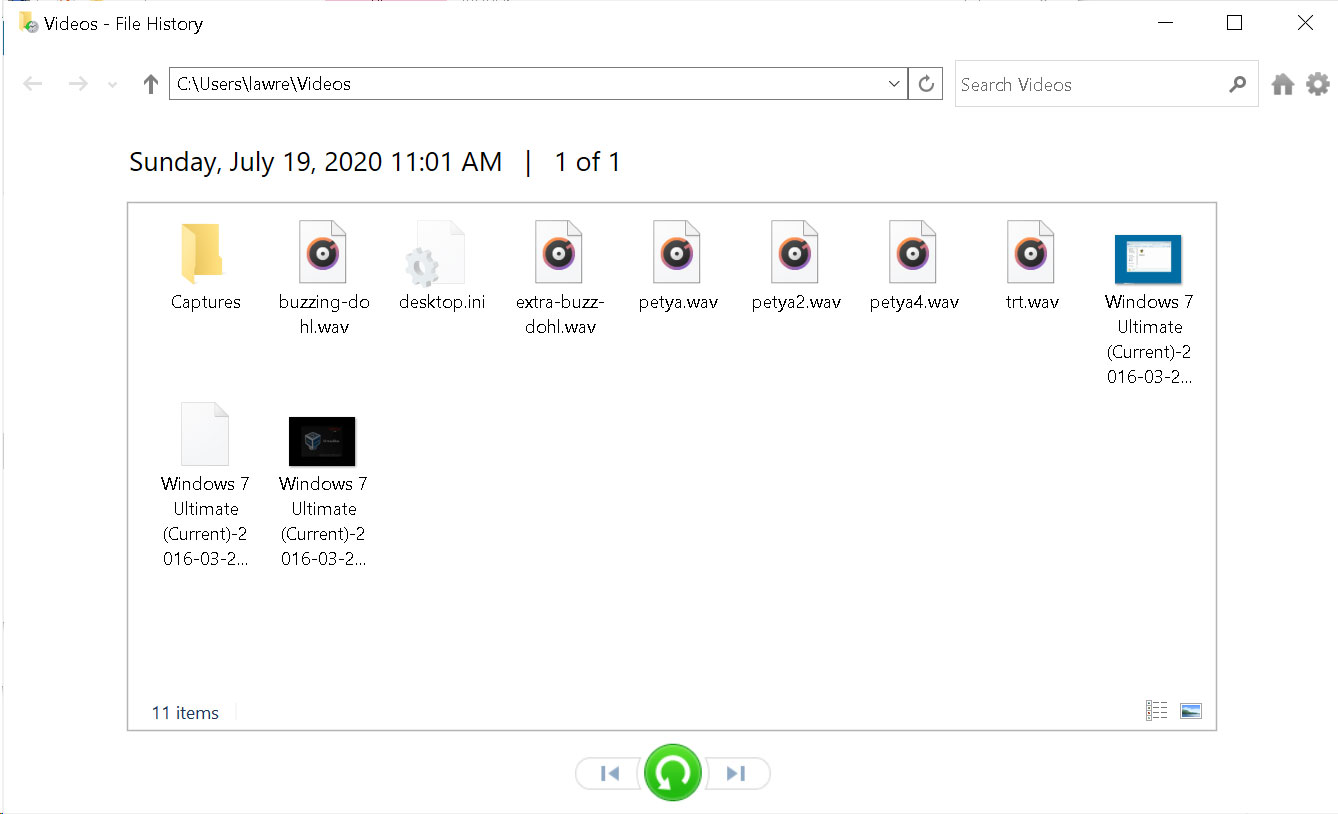 Restore files from File History
 File History restore button
Note, that you can also restore an entire folder at once, by navigating to the folder above it and selecting and restoring a folder rather than a file.
Also read: How Being Data Protection Trained Can Help With Job Retention
