KEEP IN TOUCH
Subscribe to our mailing list to get free tips on Data Protection and Cybersecurity updates weekly!


By default, Microsoft allows users ten days to uninstall a new Windows 10 feature update and roll back to a previous version of the operating system. In this article, we will show you how to increase your ‘OS uninstall window’ to give you more time to test out a new Windows 10 feature update.
After installing a new Windows 10 feature update, it is not uncommon to run into bugs, performance issues, or crashes that require you to uninstall the feature update until the bugs are fixed.
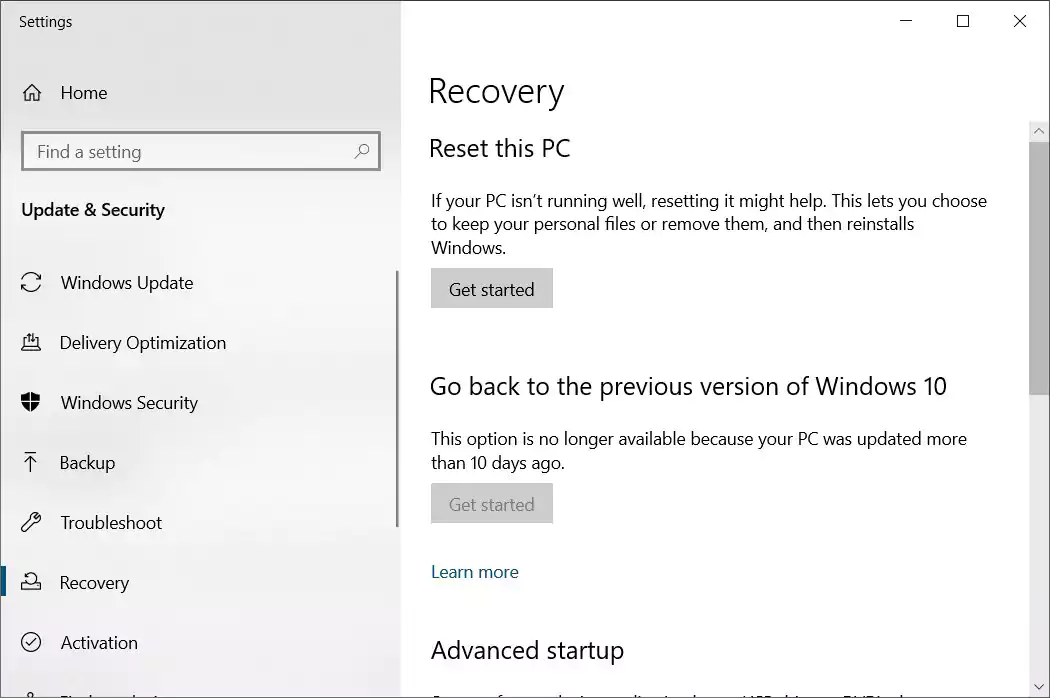
To roll back to a previous version of Windows 10, users can go to the Recovery settings screen, found under Start > Settings > Update & Security > Recovery. Once there, you can roll back to the previous version by clicking on the ‘Get Started’ button under “Go back to the previous version of Windows 10.”

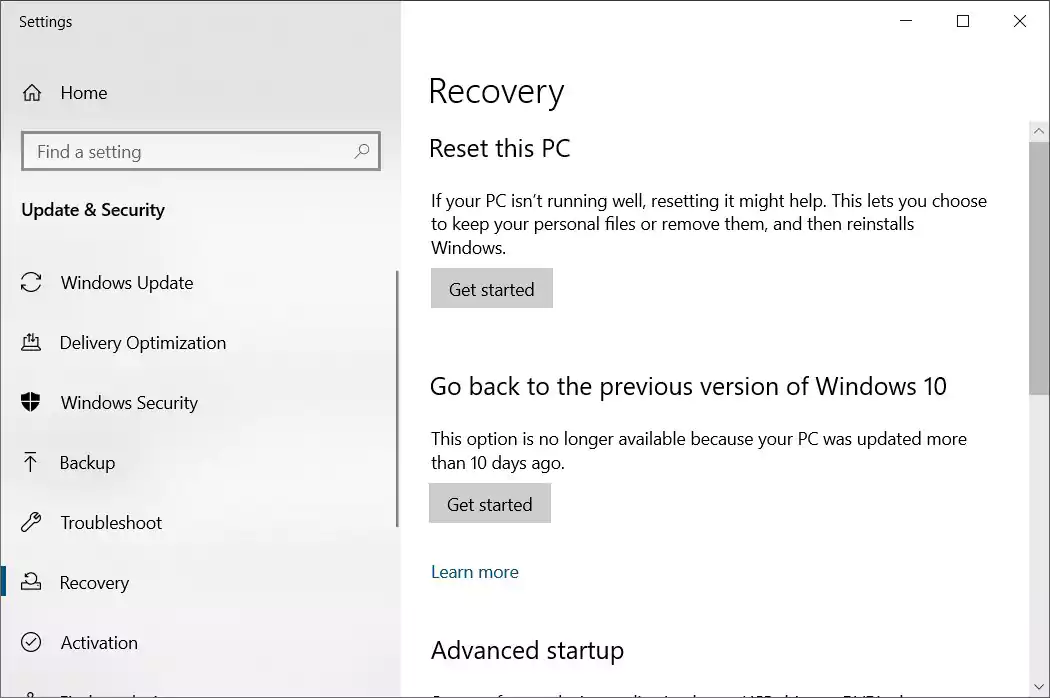
If it has been more than ten days since you installed the Windows 10 feature update, the ‘Get Started’ button will be dimmed, as shown below, and you will not be able to remove the feature update.
Also Read: Going Beyond DPO Meaning: Ever Heard of Outsourced DPO?

For those who want to give themselves more time to uninstall a new version of Windows 10, it is possible to use the Deployment Image Servicing and Management tool (DISM.exe) command-line tool.
As we previously stated, after you install a new feature update, Microsoft sets the OS uninstall window setting to ten days, which the amount of time you have to uninstall the new update.
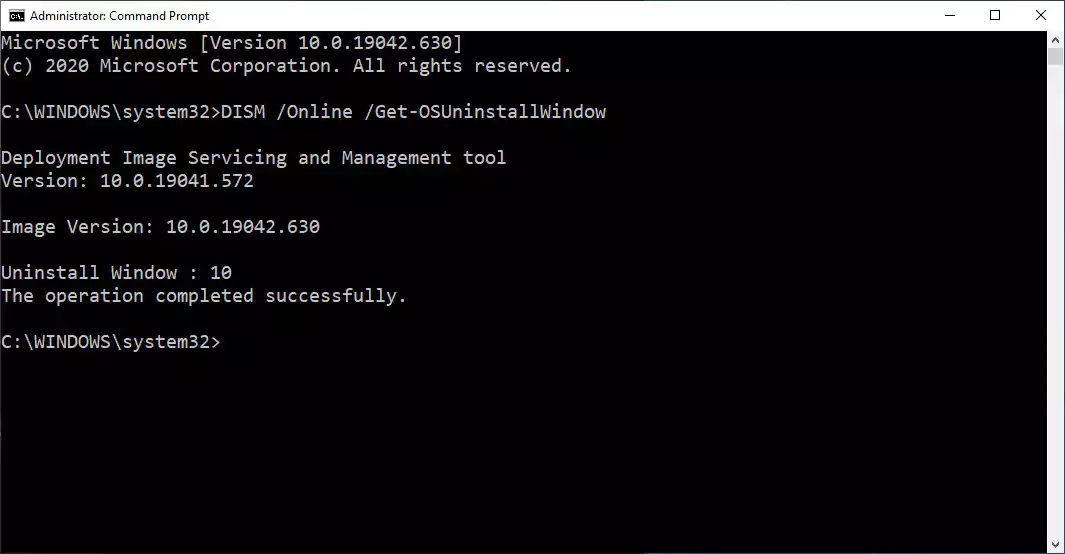
From an elevated command prompt (Administrator: Command Prompt), you can query the value of the uninstall window setting by using the following DISM command:
DISM /Online /Get-OSUninstallWindow
As you can see below, after BleepingComputer installed a new feature update, the ‘Uninstall Window’ setting was configured to the default of ten days.

To extend the number of days you have to uninstall a Windows 10 feature update, you can DISM with the /Set-OSUninstallWindow argument in the following manner:
DISM /Online /Set-OSUninstallWindow /Value:[days]
The number of days you set the OS Uninstall Window can be from 2 days to 60 days. If you specify a number less than 2 or greater than 60, it will be configured to use the default 10 days uninstall window.
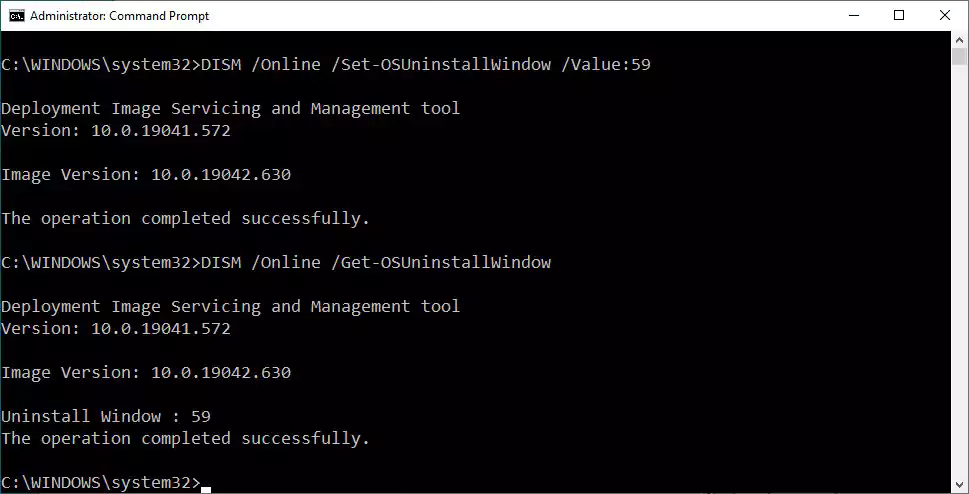
For example, if you wanted to set the OS Uninstall Windows to 59 days, you would enter the command DISM /Online /Set-OSUninstallWindow /Value:59 as shown below.
Also Read: Limiting Location Data Exposure: 8 Best Practices

For most people, this setting does not need to be changed, and ten days is enough time to decide whether you want to use a new version of Windows 10.
For computers running critical tasks or if you are planning to upgrade hardware within the near future, it may be wise to increase the uninstall window setting to give you adequate time to test the new feature update and any hardware changes.
This way, if you run into any issues, you can simply uninstall the feature update and wait for bug fixes to be released before you upgrade again.